前言
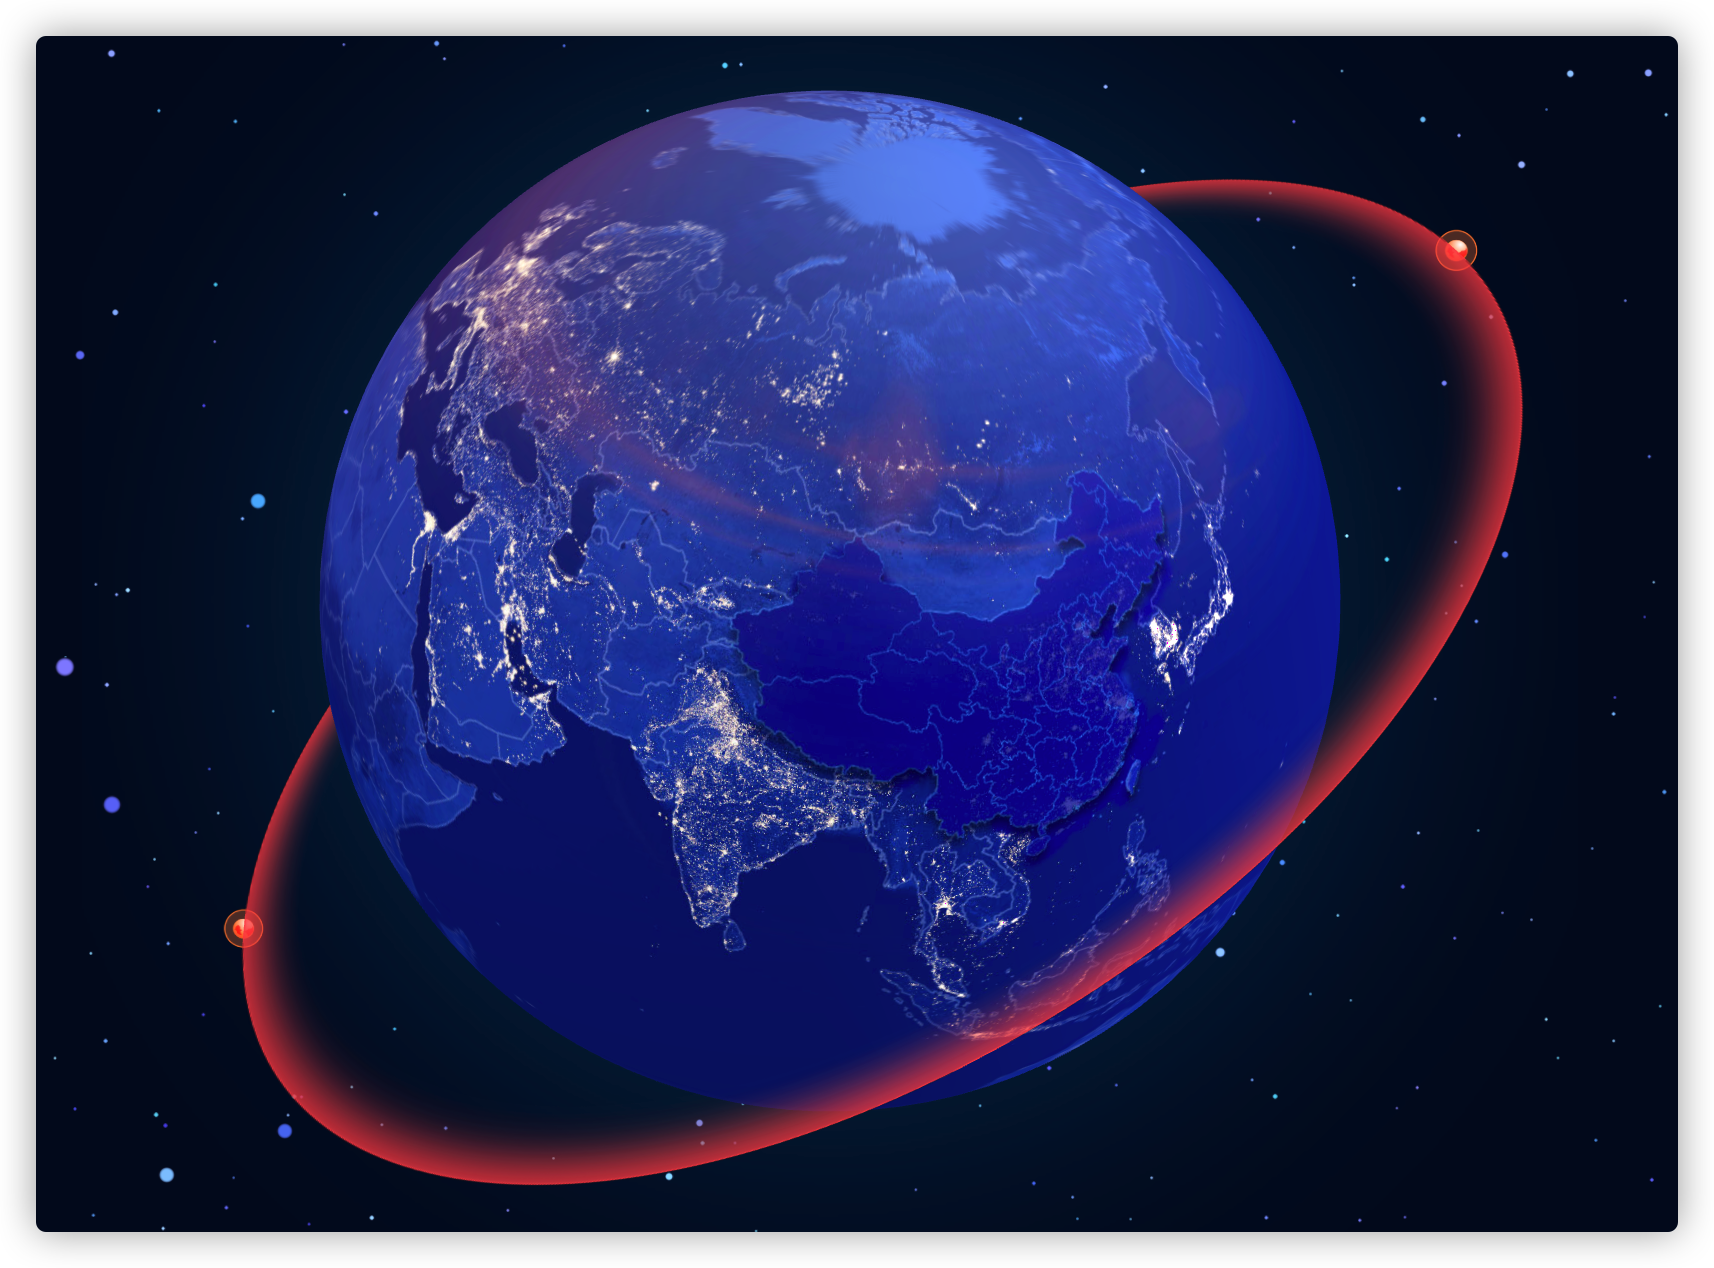
本篇介绍一下如何用Threejs实现一个酷炫的3D地球特效,使用到的技能点如下:
星空动态背景
地球模型
大气层光圈
卫星环绕特效
经纬度坐标转成3D空间坐标
标注以及标注扩散光圈
光柱特效
飞线特效
geojson数据生成中国描边以及动态流光效果
正文 这里一个个介绍使用到的技术,首先先搭建初始化界面,把渲染器,相机以及基本的光照设置好。
不懂的可以参考这个页面的模板
1
2
3
4
5
6
7
8
9
10
11
12
13
14
15
16
17
18
19
20
21
22
23
24
25
26
27
28
29
30
31
32
33
34
35
36
37
38
39
40
41
42
43
44
45
46
47
48
49
50
51
52
53
54
55
56
57
58
59
60
61
62
63
64
65
66
67
68
69
70
71
72
73
74
75
76
77
78
79
80
81
82
83
84
85
86
87
88
89
90
91
92
93
94
95
96
97
98
99
100
101
102
103
104
105
106
107
108
109
110
111
112
113
114
115
116
117
118
119
120
121
122
123
124
125
126
127
<!DOCTYPE html> <html lang ="en" > <head > <title > three.js webgl - mirror</title > <meta charset ="utf-8" > <meta name ="viewport" content ="width=device-width, user-scalable=no, minimum-scale=1.0, maximum-scale=1.0" > <link type ="text/css" rel ="stylesheet" href ="main.css" > <style > html, body { height: 100%; width: 100%; } </style > </head > <body > <div id ="container" style ="width:100%;height:100vh;position:relative; overflow: hidden;" > </div > </div > <script type ="module" > import * as THREE from '../build/three.module.js'; import { OrbitControls } from './jsm/controls/OrbitControls.js'; let renderer, camera, scene, light, controls; const Dom = document.querySelector( '#container' ); const width = Dom.clientWidth, height = Dom.clientHeight; /** * @description 初始化渲染场景 */ function initRenderer() { renderer = new THREE.WebGLRenderer( { antialias: true, alpha: true } ); renderer.setPixelRatio( window.devicePixelRatio ); renderer.setSize( width, height ); const containerDom = document.querySelector( '#container' ); containerDom.appendChild( renderer.domElement ); } /** * @description 初始化相机 */ function initCamera() { camera = new THREE.PerspectiveCamera( 45, width / height, 1, 10000 ); camera.position.set( 5, - 20, 200 ); camera.lookAt( 0, 3, 0 ); window.camera = camera; } /** * @description 初始化场景 */ function initScene() { scene = new THREE.Scene(); scene.background = new THREE.Color( 0x020924 ); scene.fog = new THREE.Fog( 0x020924, 200, 1000 ); window.scene = scene; } /** * 初始化用户交互 **/ function initControls() { controls = new OrbitControls( camera, renderer.domElement ); controls.enableDamping = true; controls.enableZoom = true; controls.autoRotate = false; controls.autoRotateSpeed = 2; controls.enablePan = true; } /** * @description 初始化光 */ function initLight() { const ambientLight = new THREE.AmbientLight( 0xcccccc, 1.1 ); scene.add( ambientLight ); var directionalLight = new THREE.DirectionalLight( 0xffffff, 0.2 ); directionalLight.position.set( 1, 0.1, 0 ).normalize(); var directionalLight2 = new THREE.DirectionalLight( 0xff2ffff, 0.2 ); directionalLight2.position.set( 1, 0.1, 0.1 ).normalize(); scene.add( directionalLight ); scene.add( directionalLight2 ); var hemiLight = new THREE.HemisphereLight( 0xffffff, 0x444444, 0.2 ); hemiLight.position.set( 0, 1, 0 ); scene.add( hemiLight ); var directionalLight = new THREE.DirectionalLight( 0xffffff ); directionalLight.position.set( 1, 500, - 20 ); directionalLight.castShadow = true; directionalLight.shadow.camera.top = 18; directionalLight.shadow.camera.bottom = - 10; directionalLight.shadow.camera.left = - 52; directionalLight.shadow.camera.right = 12; scene.add(directionalLight); } /** * 窗口变动 **/ function onWindowResize() { camera.aspect = innerWidth / innerHeight; camera.updateProjectionMatrix(); renderer.setSize( innerWidth, innerHeight ); renders(); } /** * @description 渲染 */ function renders() { renderer.clear(); renderer.render( scene, camera ); } /** * 更新 **/ function animate() { window.requestAnimationFrame( () => { if (controls) controls.update(); renders(); animate(); } ); } window.onload = () => { initRenderer(); initCamera(); initScene(); initLight(); initControls(); animate(); window.addEventListener('resize', onWindowResize, false); }; </script > </body > </html >
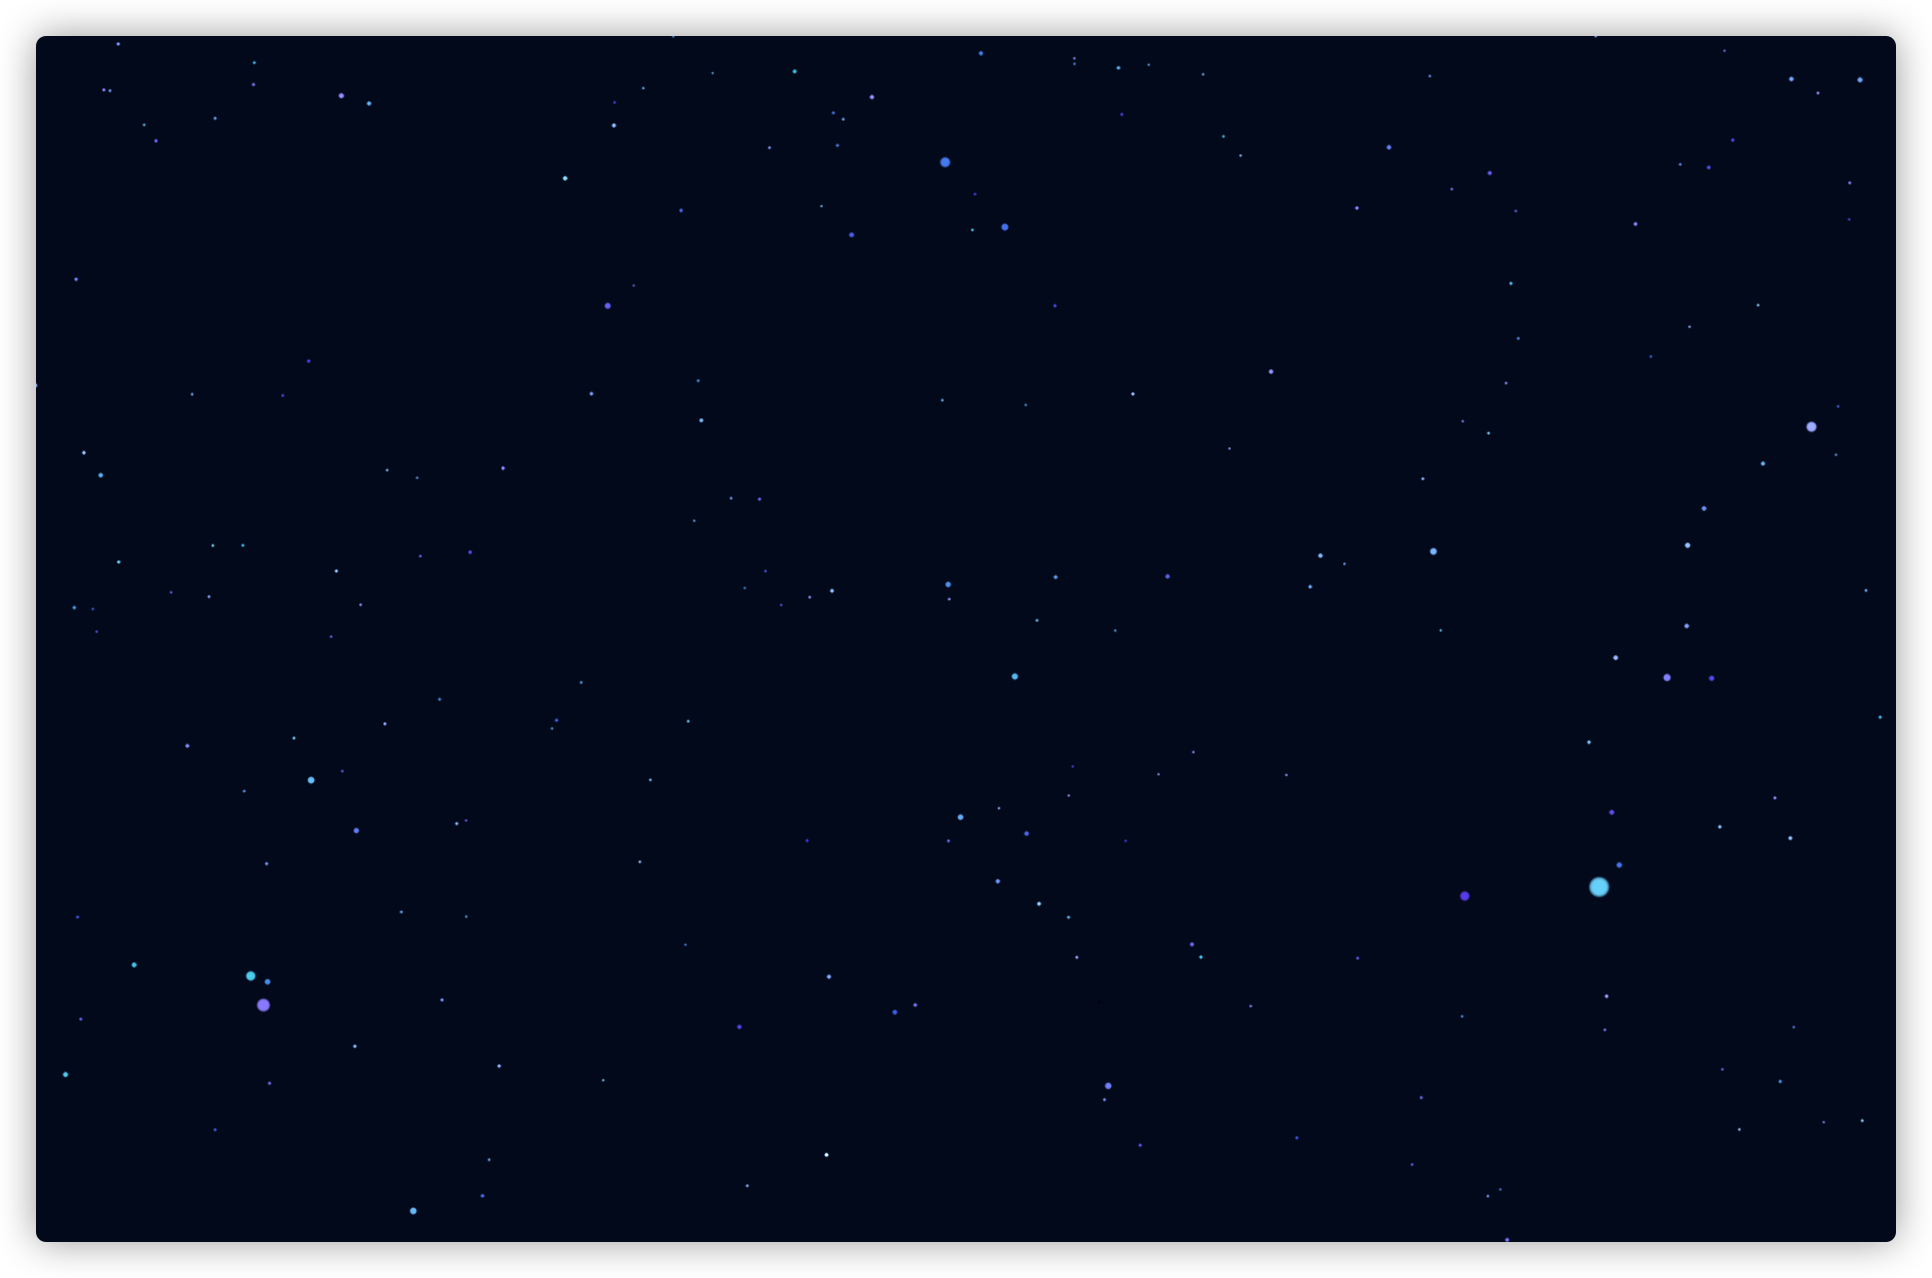
动态星空背景介绍
作为地球的背景,用动态星空的方式显得更加酷炫,使用原型贴图让原本方形的点模拟球形,再加上动态设置颜色以及设置旋转偏移,更好的模拟星空效果。
1
2
3
4
5
6
7
8
9
10
11
12
13
14
15
const positions = [];const colors = [];const geometry = new THREE.BufferGeometry();for (var i = 0 ; i < 10000 ; i ++) { var vertex = new THREE.Vector3(); vertex.x = Math .random() * 2 - 1 ; vertex.y = Math .random() * 2 - 1 ; vertex.z = Math .random() * 2 - 1 ; positions.push( vertex.x, vertex.y, vertex.z ); var color = new THREE.Color(); color.setHSL( Math .random() * 0.2 + 0.5 , 0.55 , Math .random() * 0.25 + 0.55 ); colors.push( color.r, color.g, color.b ); } geometry.setAttribute( 'position' , new THREE.Float32BufferAttribute( positions, 3 ) ); geometry.setAttribute( 'color' , new THREE.Float32BufferAttribute( colors, 3 ) );
分别把生成的Vector3和Color放入数组,然后添加到geometry中,这样星空几何体有了。 Color里面setHSL可以设置颜色和饱和度,这里通过random来随机颜色。
使用 ParticleBasicMaterial 生成材质
ParticleBasicMaterial 基础粒子材质用来搭配例子系统,这里我们可以设置粒子的大小,贴图,透明度等设置详细如下:
1
2
3
4
5
6
7
8
9
var starsMaterial = new THREE.ParticleBasicMaterial( { map: texture, size: 1 , transparent: true , opacity: 1 , vertexColors: true , blending: THREE.AdditiveBlending, sizeAttenuation: true } );
这里使用ParticleSystem这个粒子系统,是为了提供性能,如果用精灵Particle动态随机生成10000个的话,帧率肯定收到影响,这里ParticleSystem的话,等于只有一个Mesh,能大大提高性能。
把上面生成的几何体geometry 以及材质ParticleBasicMaterial来生成一个ParticleSystem,如下:
1
2
3
let stars = new THREE.ParticleSystem( geometry, starsMaterial );stars.scale.set( 300 , 300 , 300 ); scene.add( stars );
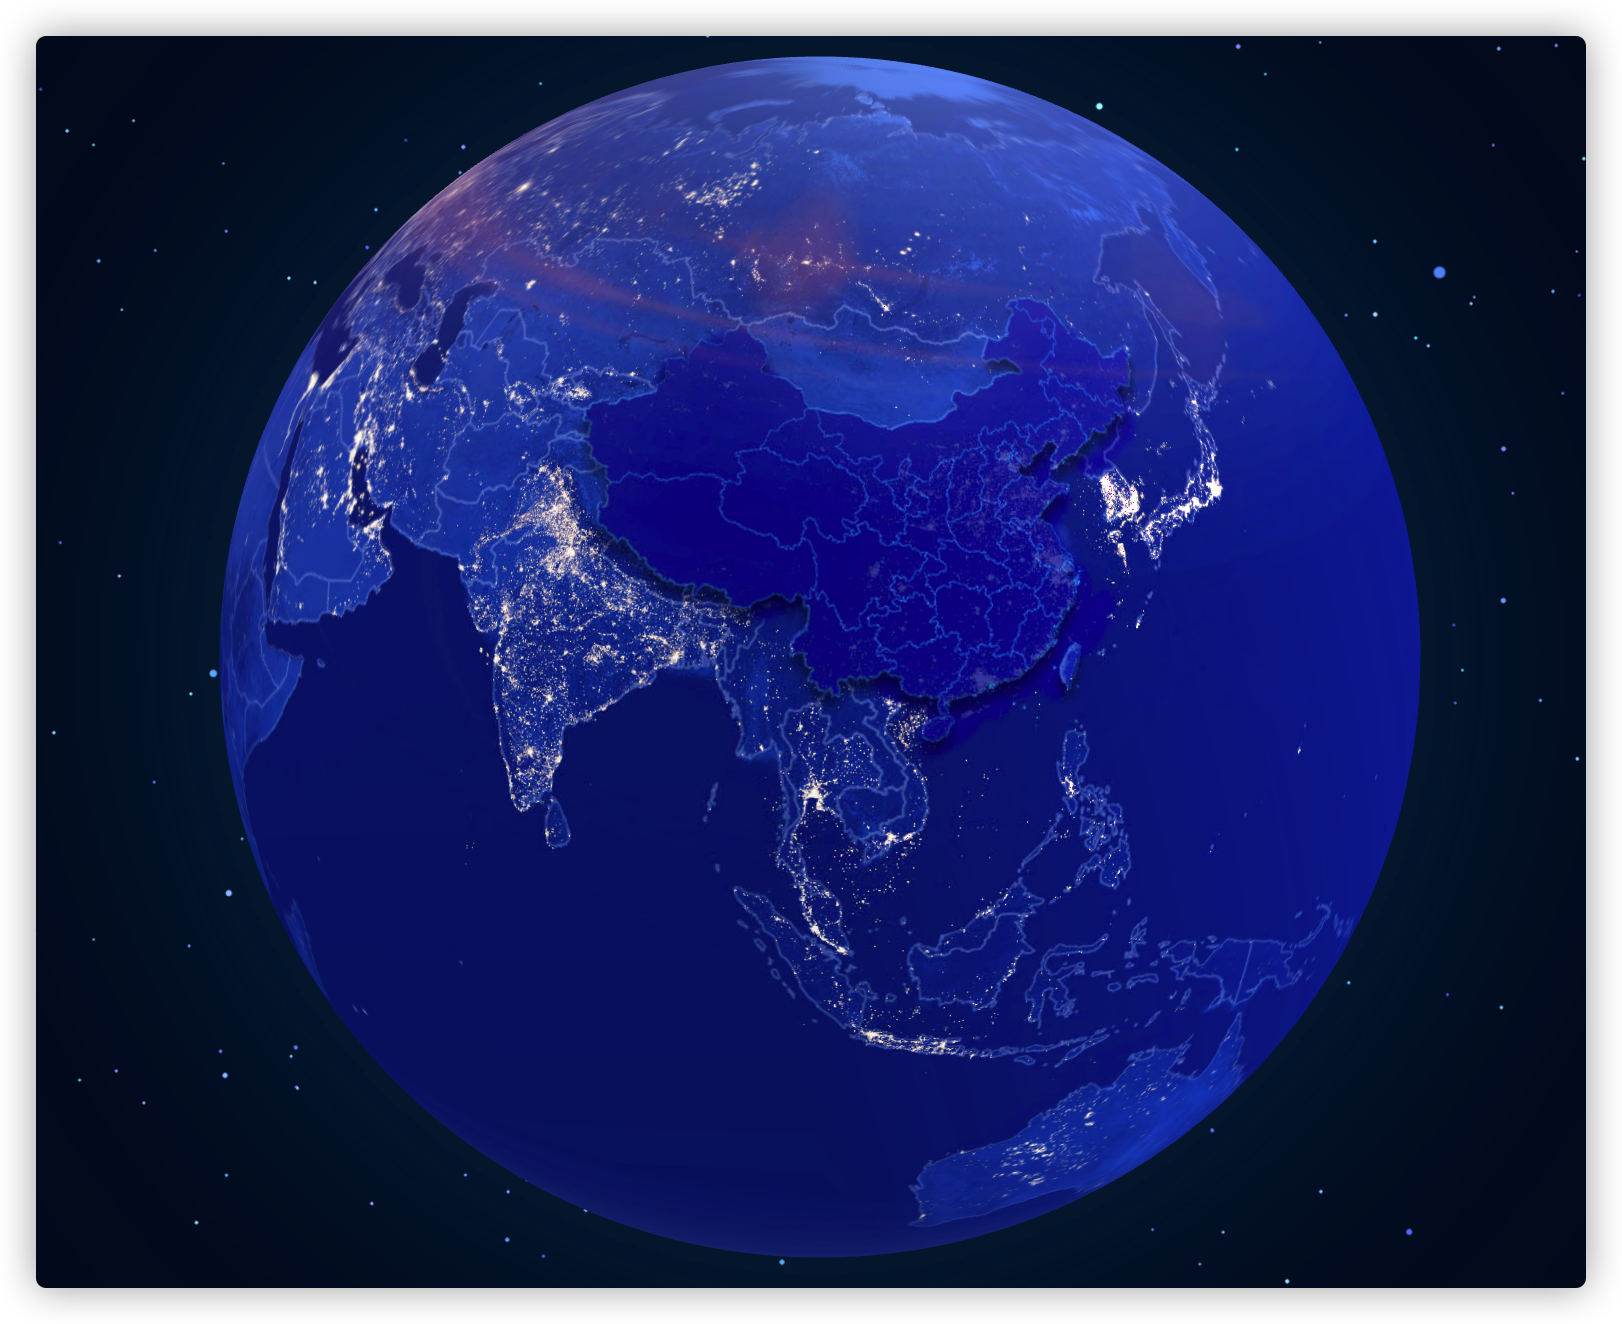
地球模型 地球模型比较简单,直接贴图+一个球搞定
1
2
3
4
5
6
7
8
9
10
function initEarth ( globeTextureLoader.load( './imgs/diqiu2/earth2.jpg' , function ( texture ) var globeGgeometry = new THREE.SphereGeometry( radius, 100 , 100 ); var globeMaterial = new THREE.MeshStandardMaterial( { map : texture } ); var globeMesh = new THREE.Mesh( globeGgeometry, globeMaterial ); group.rotation.set( 0.5 , 2.9 , 0.1 ); group.add( globeMesh ); scene.add( group ); } ); }
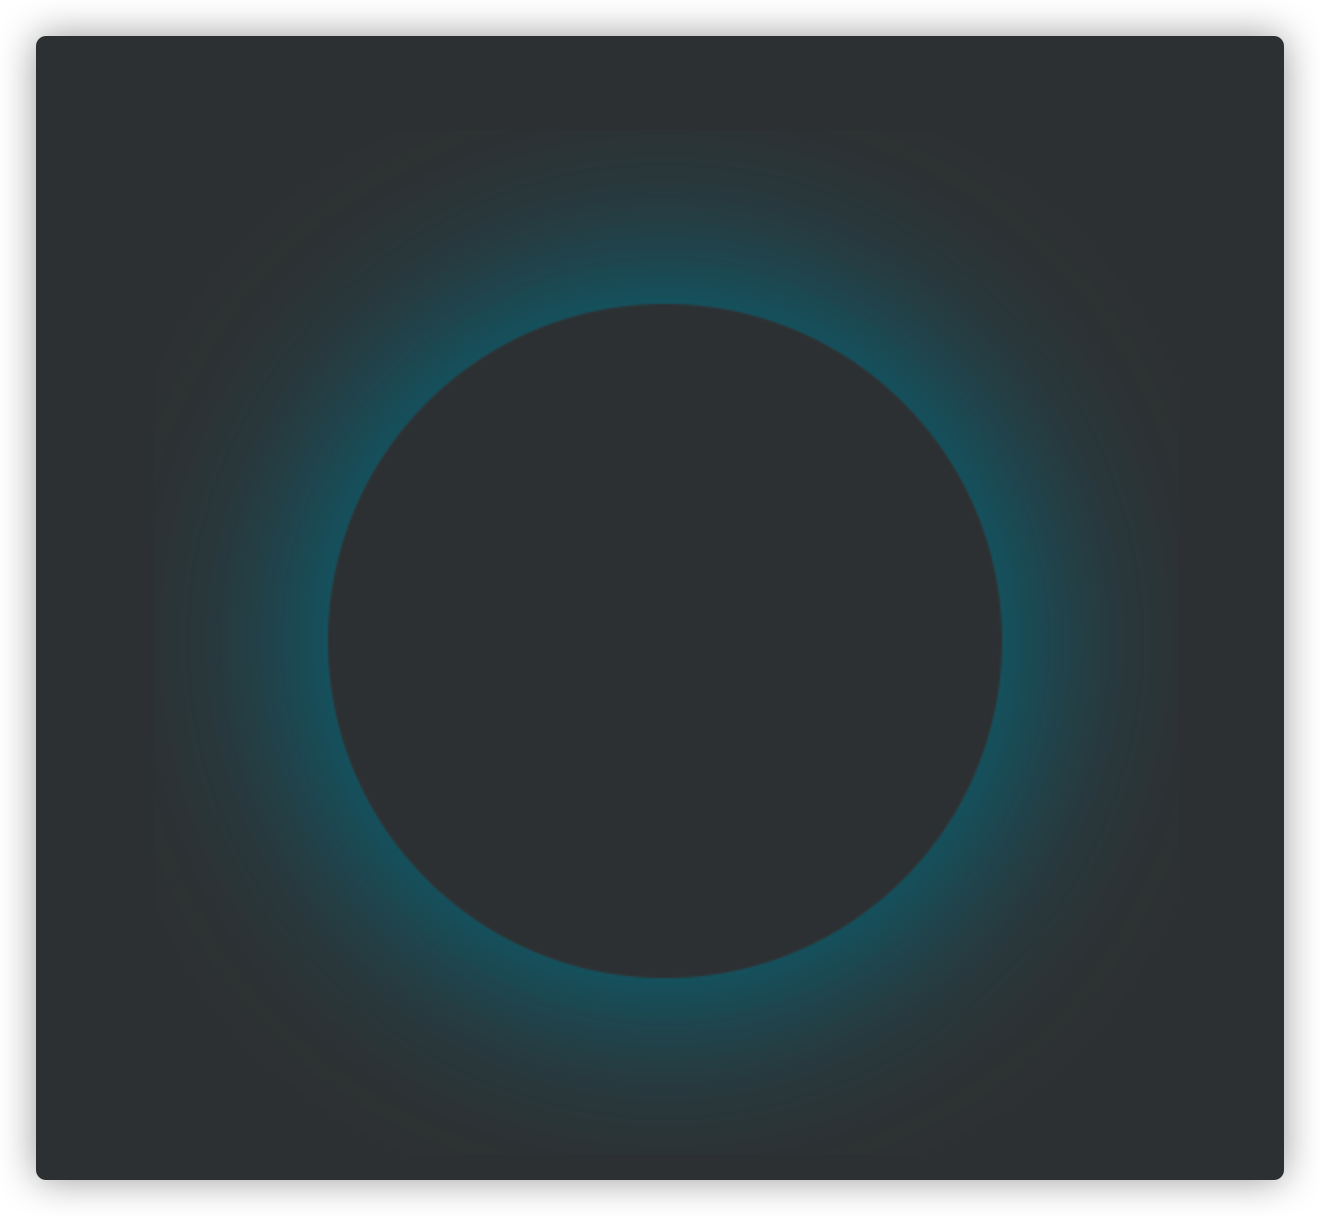
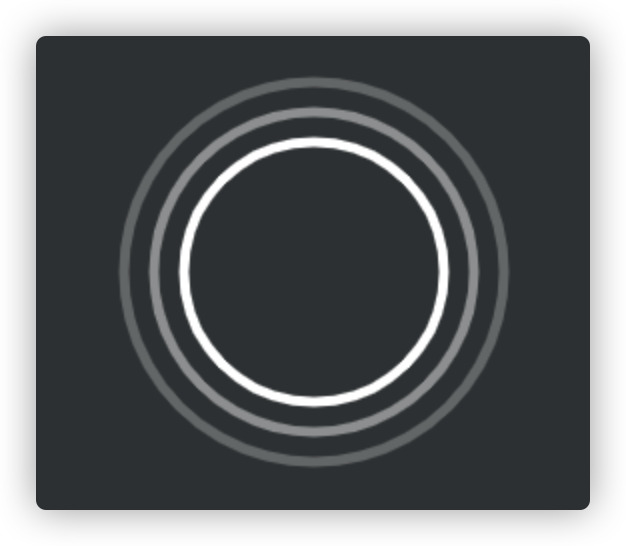
大气层光圈 大气层光圈这里也是用贴图实现,如下面这张。
代码如下
1
2
3
4
5
6
7
8
9
10
var texture = globeTextureLoader.load( './imgs/diqiu2/earth_aperture.png' ); var spriteMaterial = new THREE.SpriteMaterial( { map: texture, transparent: true , opacity: 0.5 , depthWrite: false } ); var sprite = new THREE.Sprite( spriteMaterial ); sprite.scale.set( radius * 3 , radius * 3 , 1 ); group.add( sprite );
卫星环绕特效
这里用到一个 Mesh 和一个 Poinst 结合,分别用来实现外圈的环形和两个小卫星
光环用 PlaneGeometry 矩形平面即可,加上贴图
1
2
3
4
5
6
7
8
9
10
11
globeTextureLoader.load( './imgs/diqiu2/halo.png' , function ( texture ) var geometry = new THREE.PlaneGeometry( 14 , 14 ); var material = new THREE.MeshLambertMaterial( { map: texture, transparent: true , side: THREE.DoubleSide, depthWrite: false } ); var mesh = new THREE.Mesh( geometry, material ); groupHalo.add( mesh ); } );
两个环绕的卫星直接使用Points即可,设置两个坐标,用来展示这2个小卫星
1
2
3
4
5
6
7
8
9
10
11
12
13
14
15
16
globeTextureLoader.load( './imgs/diqiu2/smallEarth.png' , function ( texture ) var p1 = new THREE.Vector3( - 7 , 0 , 0 ); var p2 = new THREE.Vector3( 7 , 0 , 0 ); const points = [ p1,p2]; const geometry = new THREE.BufferGeometry().setFromPoints( points ); var material = new THREE.PointsMaterial( { map: texture, transparent: true , side: THREE.DoubleSide, size: 1 , depthWrite: false } ); var earthPoints = new THREE.Points( geometry, material ); groupHalo.add( earthPoints ); } ); groupHalo.rotation.set( 1.9 , 0.5 , 1 );
经纬度转标转成3D空间坐标 上面已经实现了最基本的效果,接下来需要在地球上添加一下特效,比如标注、光柱、光圈等。
但是会存在一个问题,要定义地球上的一点,用经纬度是常用的办法,但是经纬度又不适合在Threejs上面使用,所以这里就需要先做一步转换工作,把经纬度坐标转换成xyz空间坐标。
这边直接提供两种转换方法:
1 2 3 4 5 6 7 8 9 10 11 12 13 14 function lglt2xyz (lng, lat, radius ) const phi = (180 + lng) * (Math .PI / 180 ) const theta = (90 - lat) * (Math .PI / 180 ) return { x: -radius * Math .sin(theta) * Math .cos(phi), y: radius * Math .cos(theta), z: radius * Math .sin(theta) * Math .sin(phi), } }
方法二:threejs自带
1 2 3 4 5 6 7 8 9 10 lglt2xyz(lng, lat, radius) { const theta = (90 + lng) * (Math .PI / 180 ) const phi = (90 - lat) * (Math .PI / 180 ) return (new THREE.Vector3()).setFromSpherical(new THREE.Spherical(radius, phi, theta)) }
标注以及标注扩散光圈 要实现标注功能很简单,直接一个平面加贴图即可
这里唯一要注意的就是,再球面上的物体,需要设置好角度,不然你会发现效果会和你预想的不一样
具体参考下面方法,
1
2
3
4
5
6
7
8
9
10
11
12
13
14
15
16
17
18
19
20
21
function createPointMesh ( pos, texture ) var material = new THREE.MeshBasicMaterial( { map: texture, transparent: true , depthWrite: false , } ); var mesh = new THREE.Mesh( planGeometry, material ); var size = radius * 0.04 ; mesh.scale.set( size, size, size ); mesh.position.set( pos.x, pos.y, pos.z ); var coordVec3 = new THREE.Vector3( pos.x, pos.y, pos.z ).normalize(); var meshNormal = new THREE.Vector3( 0 , 0 , 1 ); mesh.quaternion.setFromUnitVectors( meshNormal, coordVec3 ); return mesh; }
光圈的话,贴图用一张有渐变效果的png图
然后也是贴在 PlaneBufferGeometry 上,和上面标注的效果实现一样,最后要在渲染函数 animate 里面动态的修改尺寸和透明度即可。
动画效果参考如下代码,WaveMeshArr是所有光圈mesh的数组集合。
1
2
3
4
5
6
7
8
9
10
11
12
13
14
15
if (WaveMeshArr.length) { WaveMeshArr.forEach( function ( mesh ) mesh._s += 0.007 ; mesh.scale.set( mesh.size * mesh._s, mesh.size * mesh._s, mesh.size * mesh._s ); if (mesh._s <= 1.5 ) { mesh.material.opacity = ( mesh._s - 1 ) * 2 ; } else if (mesh._s > 1.5 && mesh._s <= 2 ) { mesh.material.opacity = 1 - ( mesh._s - 1.5 ) * 2 ; } else { mesh._s = 1.0 ; } } ); }
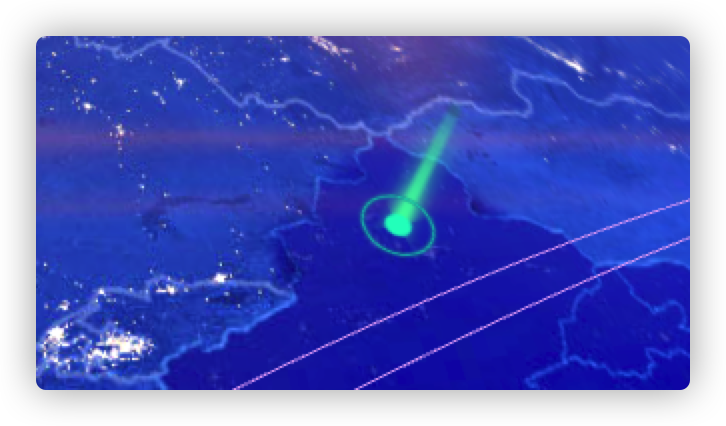
光柱特效 你如果想在Three.js创建一个光柱效果,可以通过Three.js的矩形平面几何体PlaneGeometry创建一个网格模型,然后把一个背景透明的.png格式图片作为矩形网格模型的纹理贴图。
1
2
3
4
5
6
7
8
9
10
var plane = new THREE.PlaneGeometry(50 ,200 )var material = new THREE.MeshPhongMaterial({ map: textureLoader.load('光柱.png' ), side: THREE.DoubleSide, transparent: true , }); var mesh = new THREE.Mesh(plane, material);
为了增强立体效果,可以创建两个矩形网格模型然后90度交叉即可
1 2 3 4 5 6 var mesh1 = new THREE.Mesh(plane, material);var mesh2 = mesh1.clone().rotateY(Math .PI/2 )var groupMesh= new THREE.Group()groupMesh.add(mesh1,mesh2);
最终实现效果如下
飞线特效 飞线这里分两块介绍,一个是绘制三维三次贝赛尔曲线,另一个是飞线上模拟物体移动。
飞线
目前取第一个坐标点作为飞线的起始点,比如你选择北京作为原始点,那飞线特效就是从北京飞往各个地方。
线条的话,我这里使用Line2,因为这个支持设置线条的宽度。
核心代码如下:
1
2
3
4
5
6
7
8
9
10
11
12
13
14
15
16
17
18
19
20
21
22
23
24
25
26
27
28
29
30
31
32
33
34
35
36
37
38
39
40
41
42
43
44
45
function addLines ( v0, v3 ) var angle = ( v0.angleTo( v3 ) * 1.8 ) / Math .PI / 0.1 ; var aLen = angle * 0.4 , hLen = angle * angle * 12 ; var p0 = new THREE.Vector3( 0 , 0 , 0 ); var rayLine = new THREE.Ray( p0, getVCenter( v0.clone(), v3.clone() ) ); var vtop = rayLine.at( hLen / rayLine.at( 1 ).distanceTo( p0 ) ); var v1 = getLenVcetor( v0.clone(), vtop, aLen ); var v2 = getLenVcetor( v3.clone(), vtop, aLen ); var curve = new THREE.CubicBezierCurve3( v0, v1, v2, v3 ); var geometry = new LineGeometry(); var points = curve.getPoints( 50 ); var positions = []; var colors = []; var color = new THREE.Color(); for (var j = 0 ; j < points.length; j ++) { color.setHSL( .81666 +j,0.88 , 0.715 +j*0.0025 ); colors.push( color.r, color.g, color.b ); positions.push( points[j].x, points[j].y, points[j].z ); } geometry.setPositions( positions ); geometry.setColors( colors ); var matLine = new LineMaterial( { linewidth: 0.0006 , vertexColors: true , dashed: false } ); return { curve: curve, lineMesh: new Line2( geometry, matLine ) }; }
物体移动就是从飞线的起始点,飞到物体的终点。
把上面飞线生成的曲线curve,添加到数组里面。
然后循环这个数组,每个数组配套生成一个几何球体,用来当做移动的载体,再把这个球体放入一个数组。
关键来了,循环这个球体数组,把上面curve这条线段再等分100份,然后让球体坐标分别设置为上面等分100份的坐标即可,这样就可以看到球体开始循环移动了。
核心代码如下:
1
2
3
4
5
6
7
8
9
10
11
12
13
14
15
16
17
18
19
20
for (let i = 0 ; i < animateDots.length; i ++) { const aGeo = new THREE.SphereGeometry( 0.03 , 0.03 , 0.03 ); const aMater = new THREE.MeshPhongMaterial( { color : '#F8D764' } ); const aMesh = new THREE.Mesh( aGeo, aMater ); aGroup.add( aMesh ); } var vIndex = 0 ; function animateLine ( aGroup.children.forEach( ( elem, index ) => { const v = animateDots[index][vIndex]; elem.position.set( v.x, v.y, v.z ); }); vIndex ++; if (vIndex > 100 ) { vIndex = 0 ; } setTimeout( animateLine, 20 ); } group.add( aGroup ); animateLine();
geojson数据生成中国描边以及动态流光效果 这块其实可以单独拿出来介绍,根据geojson数据生成地图用的,不过复杂的是用来做拉升,生成几何体模型用的,这边只是简单的给地图画线条。
另外就是用到的一个线条流光的shader特效,这里分开来介绍。
geojson数据可以去这个网站下载:https://datav.aliyun.com/tools/atlas/index.html
根据geojson设置流光效果
这里和上面生成的方法不一样,上面最终生成的是Line,而这里最终生成的是Points,然后通过shader处理生成跑动的流光效果。
核心shader写法如下
uniforms:
1 2 3 4 5 6 7 8 const singleUniforms = { u_time: uniforms2.u_time, number: { type : 'f' , value : number }, speed: { type : 'f' , value : speed }, length: { type : 'f' , value : length }, size: { type : 'f' , value : size }, color: { type : 'v3' , value : color } };
顶点着色器和片元着色器:
1 2 3 4 5 6 7 8 9 10 11 12 13 14 15 16 17 18 19 20 21 22 23 24 25 26 27 28 29 30 31 32 <script id="vertexShader2" type="x-shader/x-vertex" > varying vec2 vUv; attribute float percent; uniform float u_time; uniform float number; uniform float speed; uniform float length; varying float opacity; uniform float size; void main() { vUv = uv; vec4 mvPosition = modelViewMatrix * vec4( position, 1.0 ); float l = clamp(1.0 -length,0.0 ,1.0 ); gl_PointSize = clamp(fract(percent*number + l - u_time*number*speed)-l ,0.0 ,1. ) * size * (1. /length); opacity = gl_PointSize/size; gl_Position = projectionMatrix * mvPosition; } </script> <script id="fragmentShader2" type="x-shader/ x-vertex"> #ifdef GL_ES precision mediump float; #endif varying float opacity; uniform vec3 color; void main(){ if(opacity <=0.2){ discard; } gl_FragColor = vec4(color,1.0); } </script>
效果如下:
总结 以上就是这篇3D地球的技术拆解,把每个技术点都掌握了,后期就能配合开发出更多的特效了。
有需要源码的童鞋,可以淘宝搜一下 threejs 3d地球 ,目前特价19.9元~ 一顿饭钱
店铺名叫 嘟来嘟往小店
项目基于官方r129项目开发,没有额外封装,小白都能看得懂哈。